How To Assemble A Solar Panel Mount
News
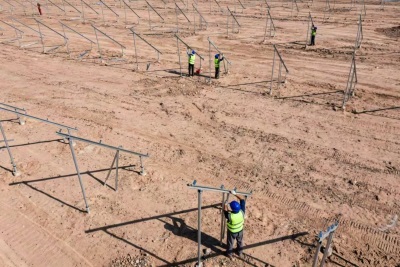
The core steps of assembling a solar panel mount include preliminary planning, foundation construction, mount structure assembly, and photovoltaic panel installation and fixing. The specific process varies depending on the installation type (ground, roof, adjustable, etc.).
Core Assembly Steps:
Preliminary Planning and Preparation: Measure the site to determine the array layout and tilt angle (usually the local latitude plus 10°); prepare materials such as columns, beams, guide rails, and fasteners, as well as tools such as an electric drill, screwdriver, level, and measuring tape.
Foundation Construction and Fixing: For ground systems, piling or pouring concrete foundations is usually required, at least 1 meter deep to ensure stability; for roof installations, the load-bearing capacity must be checked, and expansion bolts are used to fix the guide rails to the roof structure.
Mount Structure Assembly: Install the columns and ensure they are vertical, then install the beams or guide rails and ensure they are horizontal; use triangular connectors, diagonal braces, and other connecting components to build a stable support frame. Modular mounts typically use specially designed connectors to assemble profiles such as channel steel, eliminating the need for welding. Photovoltaic panel installation and leveling: Determine the photovoltaic panel positions according to design requirements, and use specialized clamps or pressure blocks to fix the photovoltaic panels to the crossbeams or guide rails. During installation, ensure that the modules are horizontal and vertical, with consistent spacing within the same array, and adjust the overall parallelism using a string line or spirit level.
 Send Email
 Joyful Power
 19822673336